Tuesday, October 8, 2013

Halloween decorations!

 I'm a bit embarrassed by the gallery wall I showed you before.  It was so small and just... not good.  So I'm going to redeem myself with these pics... hopefully. Remember my patriotic string art from July?  Well turns out I like it for everyday. So I framed it and added it to my gallery wall. Also added: a couple pictures of us, wood clock, and a geode string art.


I finally found a brass floor lamp to go behind our couch for $7... so... pretty happy about that.


How cute is this geode string art? I saw this idea on Vintage Revivals and fell in love!! I love string art and her tutorial is so simple and easy, it took no time at all (plus I already had all of the supplies!) Follow her tutorial here


I am proud (and a lot embarrassed) to say that I have finally somewhat styled our bookshelves.  Yeah, so what if they've been awkwardly empty for about 4 months. It takes time to decorate when every single thing on your shelf is thrifted. Gems don't come easy.  I guess I should mention that this is also showing you my halloween decorations.

I got all of my Halloween decorations at the dollar store this year.  I went to pick up a couple things for a project and happened upon some decorations that didn't look too "dollar store" and loaded up. 


The pumpkin I found at the DI and spray painted white.  The skull is from Michaels and I spray painted it white as well.


The Buddha and books were thrifted, the plant is Ikea (fake because we all know how well my succulents did under my brown thumb)


More thrifted books, silver bowl is thrifted, pumpkins from dollar store, and the white dog is from home goods


I originally planned on using this crow in a wreath but since my door is black it didn't show up.


The blue/white vase is Hobby Lobby, frame and lion bookend are thrifted (and the flowers in the vase? Walmart. who knew.)


Isn't this bookend amazing? It is some sort of stone and SO heavy.  I got a pair of them for $15 at the DI


Another Ikea plant (fake) and the rest is thrifted.


When I found this rock I was sooo excited.  I am always on the lookout for heavy things to hold books in place and it was $3.


the other lion bookend.


The mice are from the dollar store (and they have squeakers inside.  Stella freaked out when I brought them home)


The skull is.... yeah. dollar store.


I made the banner with orange paper (I bought a pad of colored paper this size at the dollar store) and I taped the paper to black string.  Kinda ghetto but Halloween isn't the classiest of holidays anyways.  And would it be bad if i left the skulls up all year?? I am kind of in love with them.  Weird? Sue me.

If you look to the far right of the above picture, you can see my light I made... More on that another time.


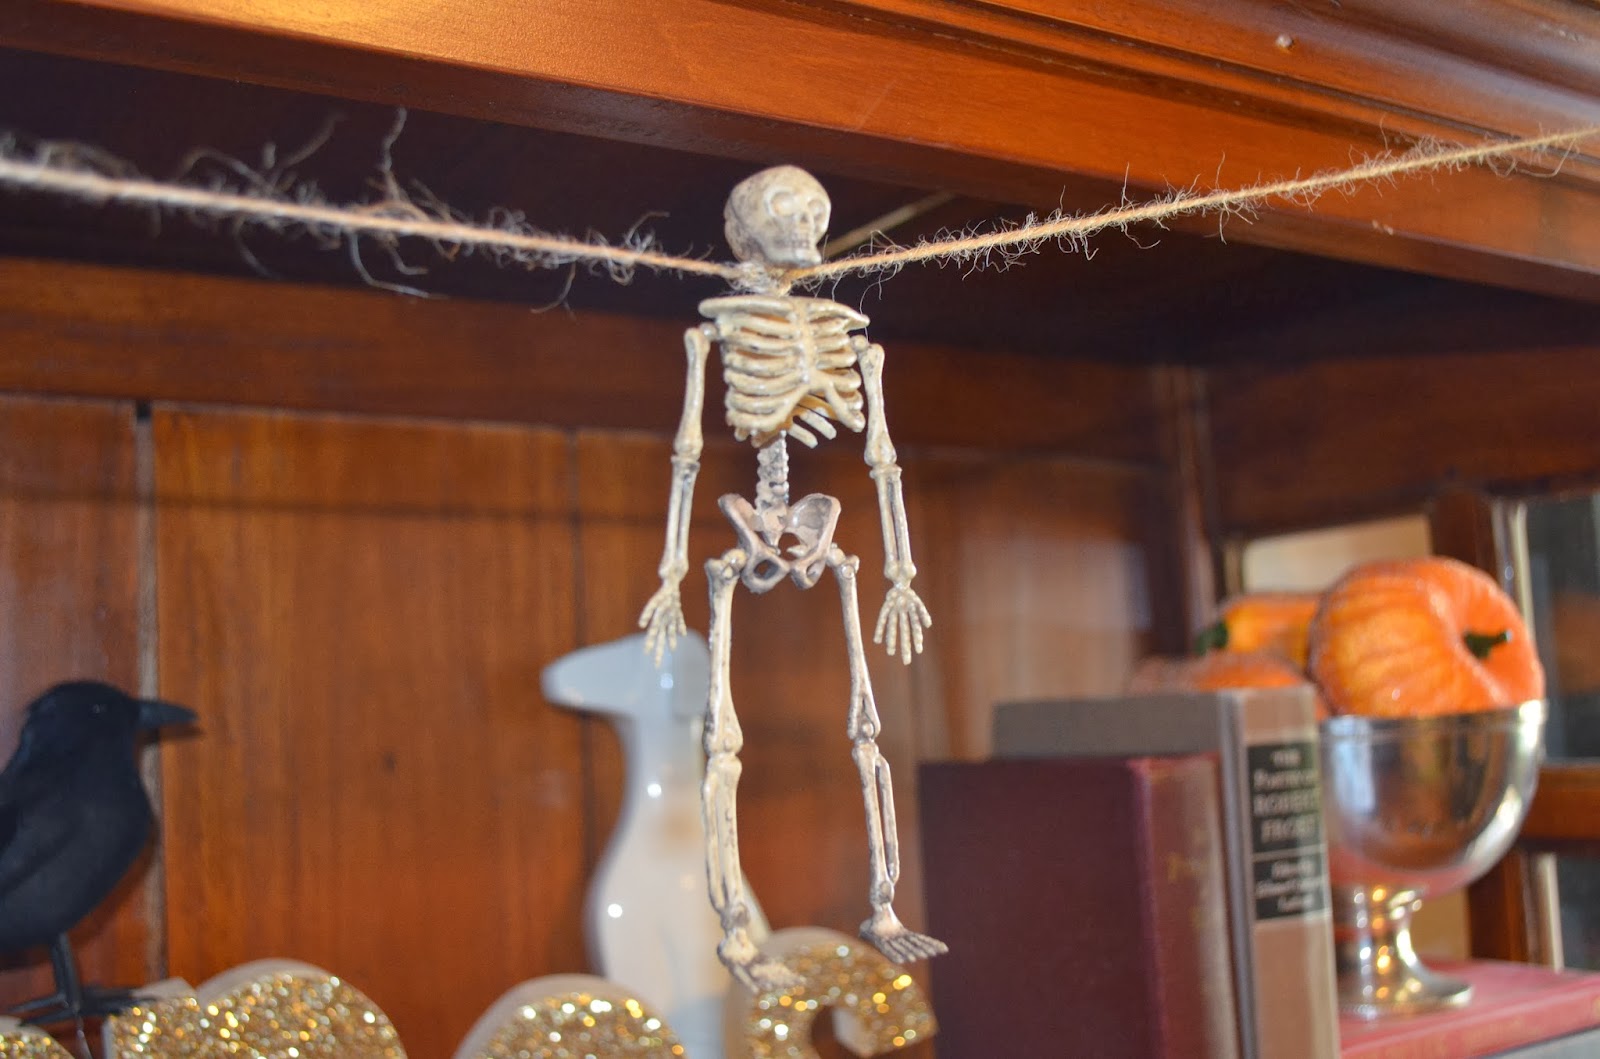
Skeleton garland is dollar store


Now for the desk. I found this light thrifting and thought it was perfect for the desk. Not to mention it was $3... SCORE


To bring in the fall, I threw some branches from my yard in a vase and called it a day.


fake Ikea plant to replace my fiddle leaf fig :( it officially died... along with Tom's poor Bonsai
I went out and bought a ton of fake plants and accepted that I can't keep a plant alive to save my life.


Last but not least, my wreath.


Pretty cute, right?  Tutorial to come... So that's what, 2 more tutorials I have given you previews of? (not to mention a ton more I have kept secret) See friends? I'm kind of back. I say kind of because it might not last long. But relish it while it lasts!! As of now I am in the middle of 3 projects with plenty saved up from the last month.  So this COULD last a while.  Just sayin.
Okay, see you tomorrow!!


Monday, October 7, 2013

Quick and Easy chair update

Oh man, I have some major updates for you. You should probably be pretty excited about these.
Let's start with this chair.  I had been on the search for a chair for our secretary desk (see update) ever since Tom broke our Ikea one (I wasn't even mad when he broke it because A: It didn't fit under the desk and B: I was too busy laughing my head off when it happened)  We were sitting in our living room talking with friends (Tom was in our plastic Ikea chair) and all of a sudden there was a loud crack and Tom suddenly found himself leaning back, legs straight out, making large circles with his arms while trying to keep from toppling all the way over backwards.  Really, I laughed so hard I cried but you might have had to be there. Okay, back to the chair.

I found this baby for I want to say... $5.  It fits perfectly under the desk! But I was feeling too lazy to do a major overhaul (see previous post) So I decided to just spray paint the whole thing.


I removed the seat by unscrewing it and sprayed it down with the hose really well (there was so much gunk in the seat)


I decided on a bright blue because I could use more blue in my house.  Spray painting was the best way to do this.  I used one can and I think it took all of 10 minutes.


I had some leftover foam from my other chair I redid ( see here) and traced the seat onto it.


I then cut it out and used some fabric I had on hand from my coffee table I recovered.  I simply hot glued the fabric around to the bottom of the chair pulling tight and then screwed the seat back on.  This chair took me a total of an hour (that's way over estimating) And I couldn't be happier! I had some different things in mind for it but with how easily I did it, I can always redo it again when I get bored.


What do you think?  Here's the chair in a little preview of what's coming tomorrow.  So make sure and check back for some more of my recent projects!


Wednesday, September 18, 2013

Secrets

I have a confession. Lately I have been pretending my blog doesn't exist.  It's horrible, I know. Right now I just don't have the time for projects outside of school.  But I feel a big tinge of guilt whenever I see someone repin something from my blog and I feel the need to post this apology and then I use my free time to watch Grey's Anatomy... 
I also have another confession. I don't really even have inspiration posts to do because I'm not searching pinterest constantly for home ideas like I used to be.  As the weather has turned colder I have found a new love for fashion. And by colder I mean I'm sweating in my sweater in 80 degree weather yet I'm in a sweater so I'm happy. Anyways. I started this blog in June because by spring I am so bored with fashion I only focus on home decor. I am a boots and layering kinda girl and now that those are back in play I have been spending less time home shopping and a lot more time clothes shopping (much to Tom's dismay).
That being said, I will only be posting sporadically as I feel the need to for the next bit. But I do feel a Halloween inspired post soon. Don't hold your breath though. And then expect this to pick up again come spring along with my fashion boredom.
And another update... With our jobs we will be starting in the next few months we will both be commuting a lot in the same direction. (North)  :(  Which makes me sad because I can feel a move coming in the next bit.  But that also makes me happy because our next place will have more room. (It would almost be impossible to find something smaller so thumbs up there!)
Anyways, thanks for reading still... and oh yeah, along with my succulents, I also killed my fiddle leaf fig and Tom's bonsai tree is holding on for dear life by about 3 yellow leaves. So..... 
We're pretty cool.
K see ya.

Thursday, August 22, 2013

Gallery Wall

I've mentioned I have been in the process of a gallery wall in our living room.  Well tonight I feel like it is finally far enough along to share... Up until now,  I have had about two pictures hanging... not the prettiest. But today I made it out to the D.I. and luckily found several pictures to add to my collection.  
Here it is in all its glory.  And keep in mind it is still in progress. My end goal is a wall full.


These pictures aren't great at all since I took them once it was dark out but I was too excited to show this off to wait until the morning light.


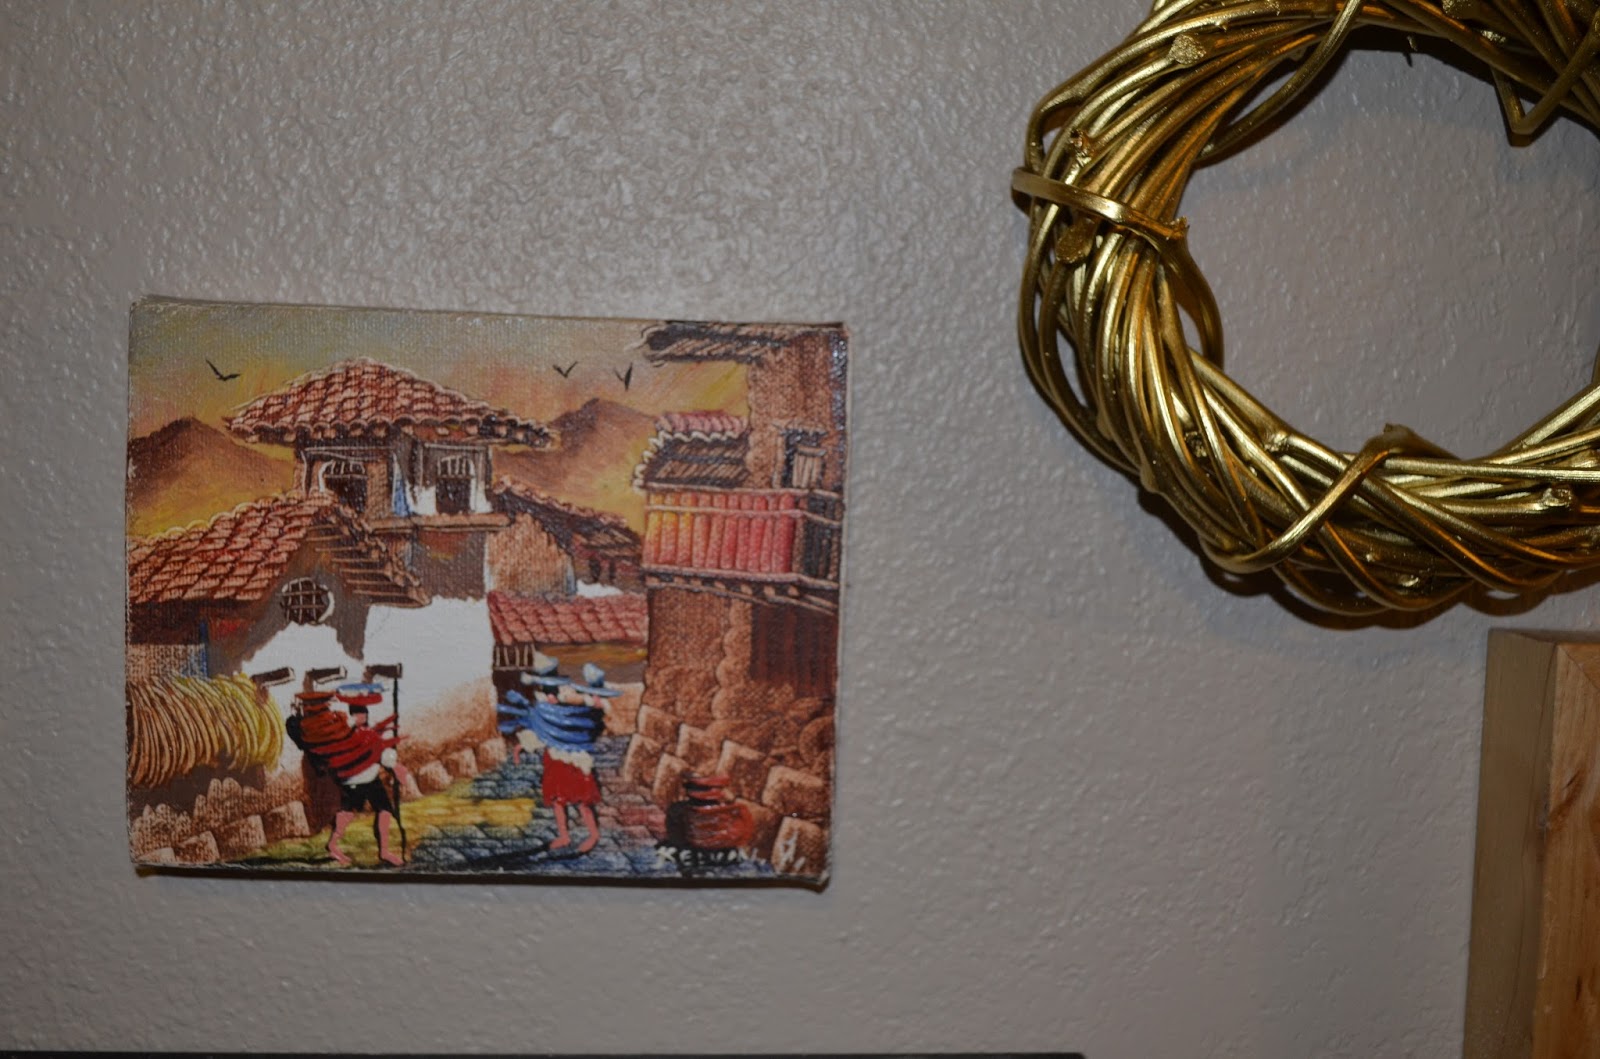
This is a little hand painting on a tiny canvas I found at a thrift store a few months back and thought it was adorable not to mention very colorful. I think it was about $1.50


This was an actual photograph I found taped to the back of a frame.  I had been coveting this artwork by Sharon Montrose for awhile and while it is very reasonably priced, I just hadn't gotten around to ordering a print.  I haven't given up on that idea but this giraffe print will do for now. (Especially for 1$)


These are some sketches I did in highschool that I found while cleaning out my room to move.


This is one of my scores from today. (5 dollars!) I really like the simplicity and that it is in a heavy duty nice frame.


This is a before of the wreath seen above.  I had an awkward space to fill and wanted something a little more 3 dimensional.  I found this wreath in a drawer (I bought it at a boutique clearance last year for about 50 cents) and I decided to spray paint it gold so it wasn't so boring.  I also like that it could almost pass as metal.


So here are some more details of the things I haven't covered yet.
Black/white West Elm inspired painting: DIY here
Red, orange, yellow abstract painting: thrifted $5
Small flower painting: thrifted $0.50

All of my frames were thrifted as well for less than a dollar.  I think I am into this wall about $20 tops.  So here is some proof a gallery wall doesn't have to cost you a fortune.  If you check your local thrift stores often enough and keep an open mind, you are sure to come up with something. And when I say keep an open mind, KEEP IT WIDE OPEN.  Have you seen some of the things Emily Henderson hangs up?? Questionable on their own but once she gets them all together in a room they always look amazing.  Don't be afraid to be a little out there.
Also, I sort of mapped this out but when it came down to it, I just started hanging and built out from the center.  You don't have to be perfect (let alone want it to be perfect) and if it turns out horrible, chances are you can use most of your existing nail holes to rearrange and cover up the ones you can't use.  Don't be afraid to put holes in your walls.


Friday, August 16, 2013

I'm kind of a big deal

Just kidding. But really, have you ever started a project thinking "I'll just work on this for a few days, it's okay if it takes awhile." and then 9 hours later you're finishing the project? You're a terrible hot mess that hasn't eaten since breakfast and every muscle is sore but you've accomplished more than you thought was possible... Yeah. That just happened. 
Okay, so... I'm about to show you some pictures I'm very not proud of. Of our kitchen when we first moved in. 


This is the view as you walk in the door from the bedroom. I know, the robes are a nice touch. Here you can kind of see what the old counter/cupboard looked like... and how little counter space we had. 
You can see the full post on this update here.


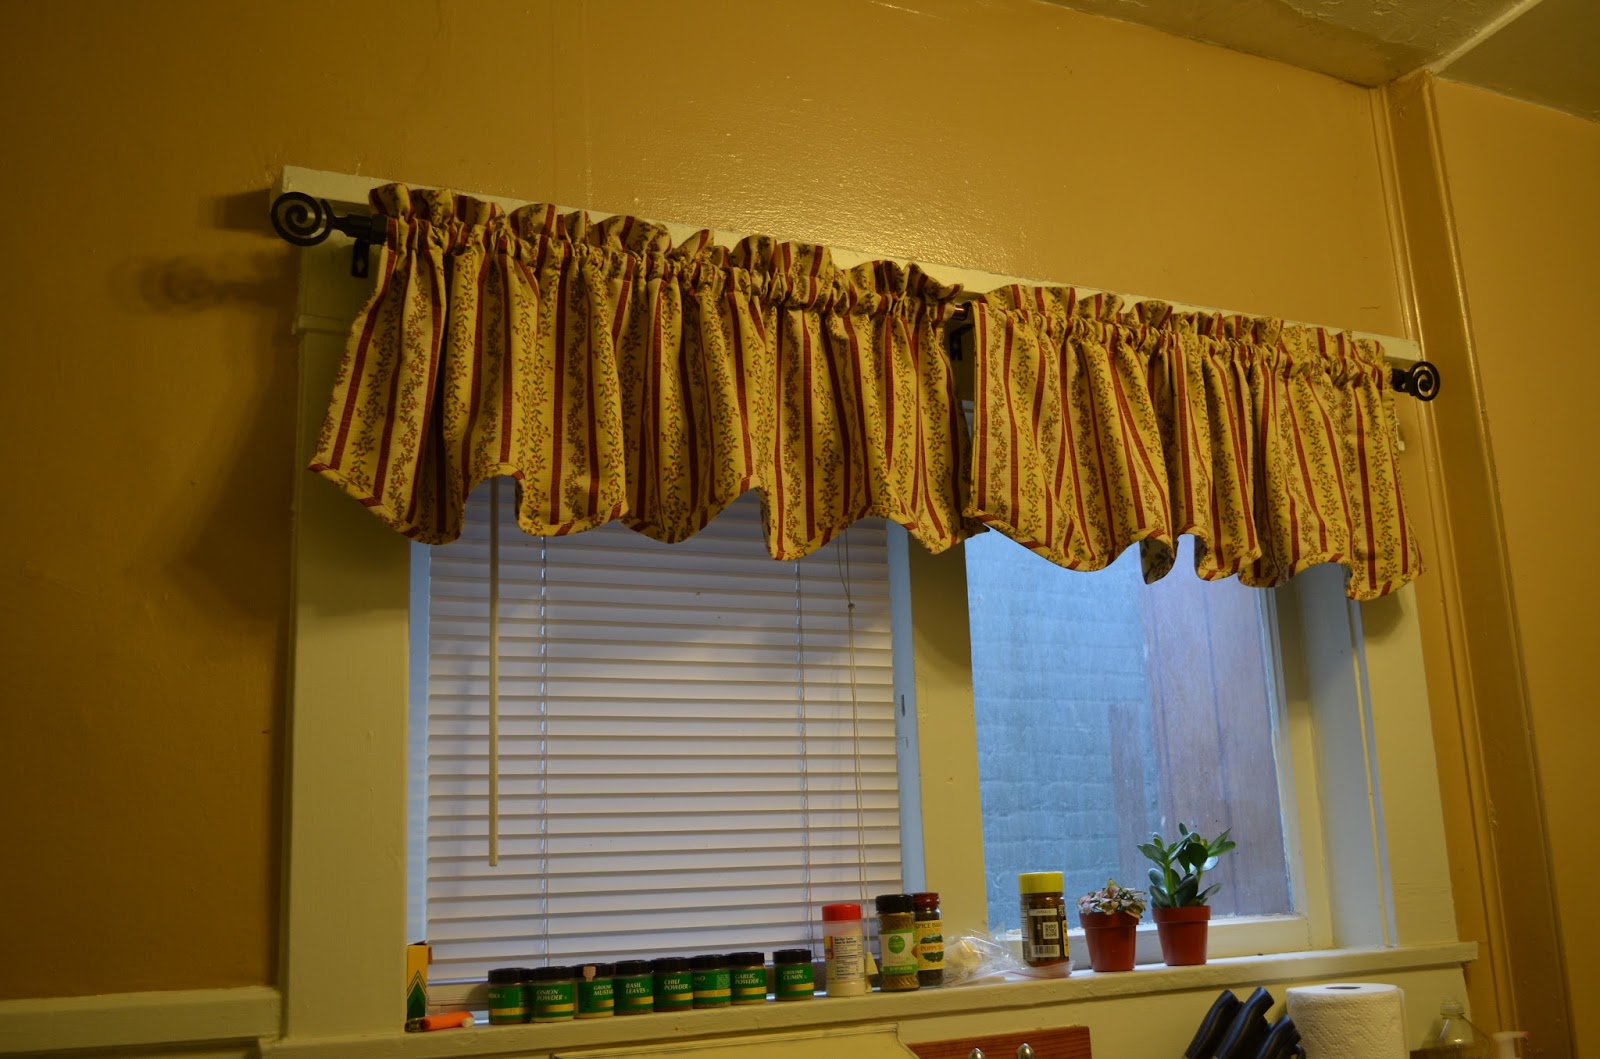
This is the window above the sink


The previous owners (who we know) left up the curtains for us.


See the next door neighbors house/window? Yeah, great views over here. And absolutely NO walking around neked. 


First thing I did was take down the curtains.  Our house has an amazing craftsman style and I wanted to show off the moulding better.
Then I measured up 9 inches from the bottom of the window and installed these shelf supports. 
(My suggestion is to get your hands on some power tools for this.  I was too impatient and screwed them in by hand... I'm paying for it in blisters)


I picked out some boards at home depot that I think are made just for shelving. They are really pretty and perfect depth.  I picked out some that were 6 feet long- which worked out great cuz I didn't have to make any cuts. (When you go to the store, measure your space before. Chances are they will have a board in the size you want, and if not they will cut it for you for free)  I stained them and let them sit to dry. Don't forget, if your stain is really dark, you can wipe it off with a paper towel to lighten it a little.


I took a break from the shelving and mixed up some paint.  I wanted black but I have a lot of black in my house.  I searched through the oops paint and didn't see a color I loved.  I realized I had some paint leftover I could make my own color with.  I was going for a moody green- but it really turned out more black than anything.

I started painting... and since it was only one wall and not a ton of area, I finished in only a few hours.  I had to do about 3 coats.


I hung my shelves, screwed them all together so they aren't going anywhere, did my pile of dishes and organized the pictures on my fridge, filled my shelves (I finally opened our dishes from our wedding!!!)


And here is the other side.


And here is Stella, cleaning our floors for us.  She does a really good job.
Plate wall found here.

Here's a side by side view of before/after:


I know, you think I'm a big deal too. I mean, not everyone dares to sit on top of their fridge as they paint their kitchen... If only there was a picture of that fine moment.

So it turned out just as I hoped. And I don't think it looks too awkward blocking the windows with shelves... they're non-functioning anyways. (And I really don't even care, because I have a place to put our dishes now) It was amazing how much the dark paint opened up the room. It draws the eye up and accentuates our tall ceilings (which are rare for a house as old as ours). Not bad for a one day job! I'm off to eat now. Since it's been like... 10 hours.