
Okay guys, I'm going to take it back a few months to the headboard I made for my mom for mother's day (yes, clear back in May)
I finally got a second this last weekend to snap a few pictures... I took them on my iPhone and didn't take the time to open the blinds because Tom was rushing me out the door. So forgive me for the bad quality. But hopefully you can get the idea!

I started with a sheet of underlayment from Home Depot. This is the cheapest piece of wood I could find for as large as it is. (they can range from $11-$20) It is 4ft x 8ft and I cut it down to be the size of a king bed which is 76 inches wide... I think I cut it at about 78 inches so it would be 6.5 feet. (this also ensures that the headboard isn't smaller than the bed.)

Next, I measured 6 inches in on the top and sides of the headboard.

I bought a large foam camping pad from a local grocery store called Smiths Marketplace. Early in the summer they sell camping pads that are about 3' wide by 7' long. I cut down the pad to 5.5' so that it would fit inside the board with a 6" board. (because of the dimensions of the board and the camping pad, I left a foot of boarder on the bottom of the headboard) I measured to the middle of the headboard and marked and the middle of the foam and marked to make sure it was perfectly centered.
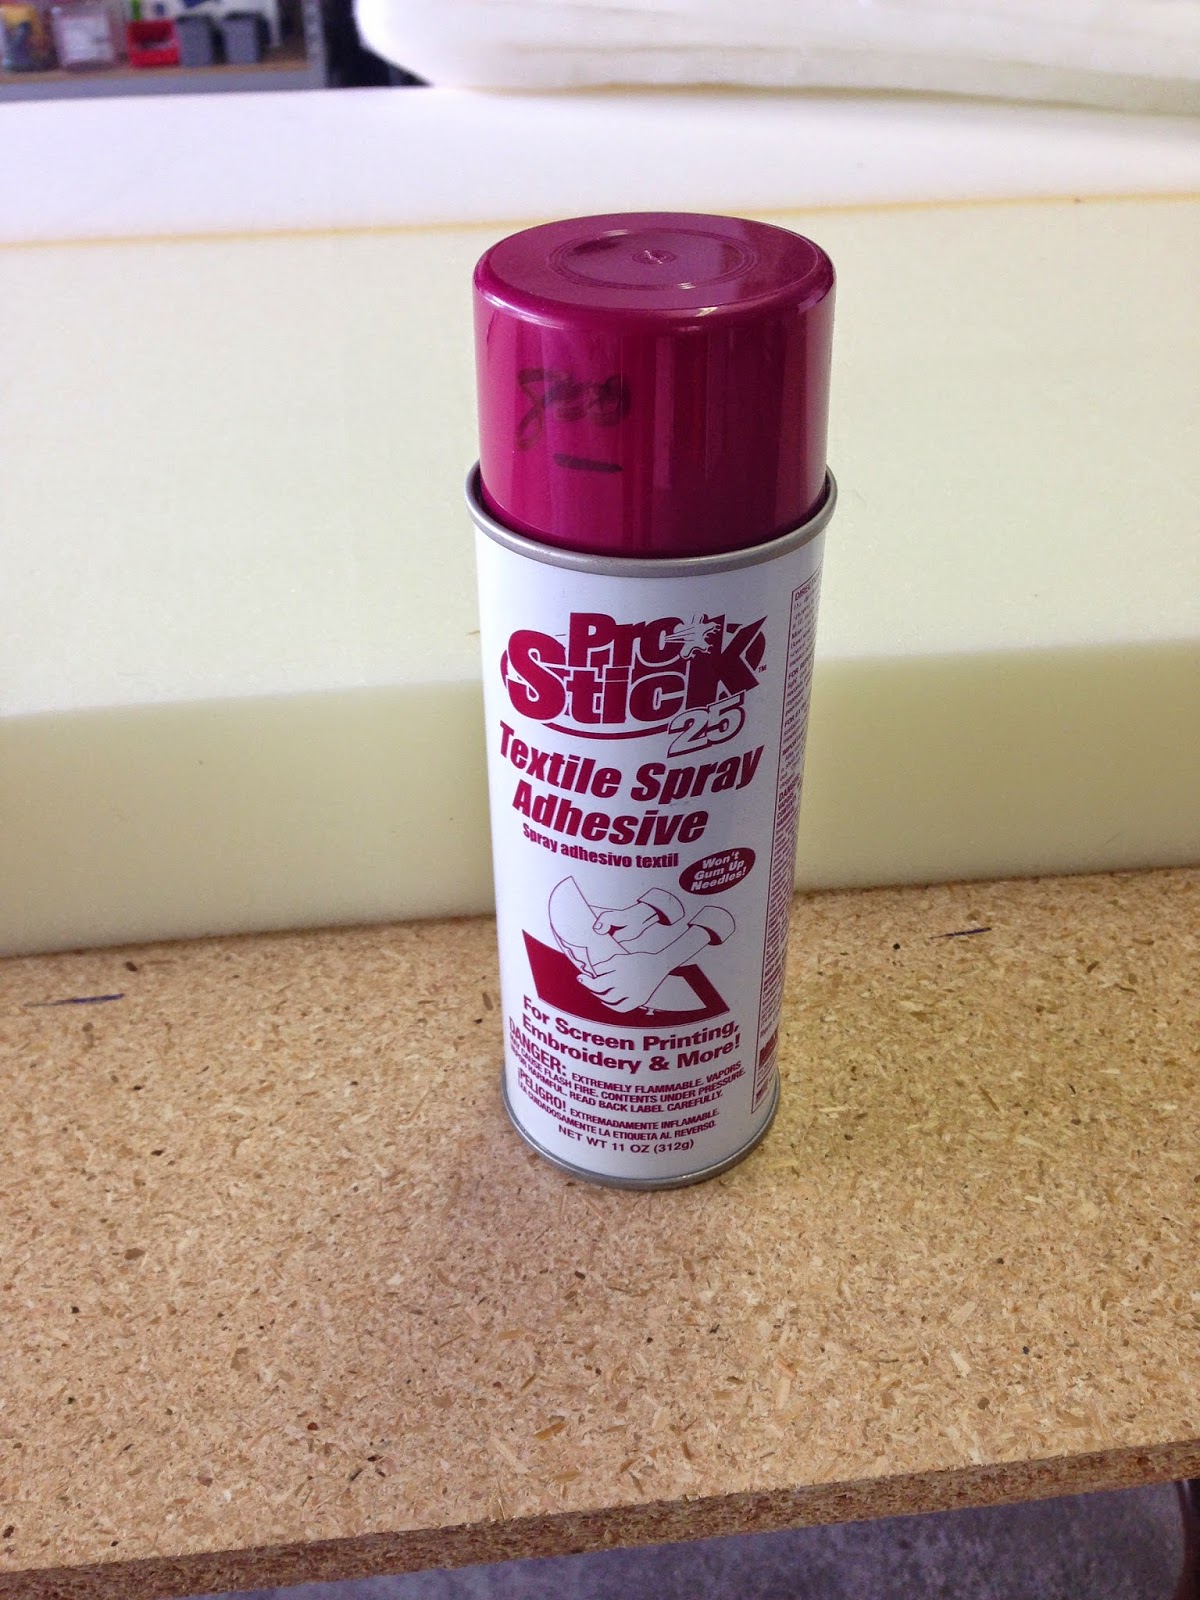
This stuff is like magic. Lay your foam down and spray this stuff underneath and it will hold it in place.

Next, use batting to wrap the boarder of your board. Use the stick spray to hold it in place.

When it comes to headboards, fabric is usually the big cost because you need so much of it. I ended up finding a really pretty quality upholstery fabric on sale for 50% off and used a coupon on top of it. I ended up going with an ivory linen. It's beautiful up close because you can really see the wefts of the fabric.

Next, place your fabric down on your board, centered.

Pull your fabric tight over your board and use a staple gun to staple around on back.

Staples seen here. Add as many as you need to keep your edges smooth and really hold your fabric in place.

I found a really pretty bronze nailhead trim at Home Depot.

Hammer your nailhead in at a good spacing of your choice. The nice thing about pulling it tight and then adding the nailhead that pulls it even tighter, is that you don't have to iron your fabric. Mine was SUPER wrinkly and pulling it tight just straightened and smoothed it all out perfectly.

I just eyed it and made sure the nailhead was about 2 inches apart and 6 inches from the edge of the board. (this also shows how beautiful and textured the fabric is) Hammer the nails in with a few gentle taps- If you are concerned about marking up your nailhead, they do sell rubber mallets specifically for nailhead, but I thought it turned out just fine and didn't effect the finish too bad!

Continue all the way around your foam until it is complete.


This shows how the bottom boarder is wider than the top and sides. I wish I had a picture of the back. I used 2 2x4's just screwed in to the back. I measured the bed and made sure that the headboard sat with 6 inches of the bottom boarder below the top of the bed (if that makes any sense) This way the boarder looks even all the way around.
Next, lean the headboard against the wall and push your bed up against it. The bed will hold it up (promise! Mine has been holding strong for 2 years now)


It really just completes the room! Now that you have the step-by-step, you can adjust the measurements to fit your own bed. You could even make it shorter if tall headboards aren't your thing. I wish you could tell how tall it is... but just know that it is super tall and just gorgeous in person.
Overall, I think the total of this was $80.
Getting the camping pad really cuts down costs because they are only about $20. Which gets you a lot of foam for a very little price. Watch for a good coupon for your fabric which will also be another big cost. If you plan ahead of time, you can order nail head off amazon for cheap too. Once you have all of your supplies, this only took me about 3 hours total. Not bad at all!
If you make a headboard, send us some pictures or post it to instagram with the hashtag #stellalaneheadboard.
Good luck!
Thanks for reading!!
xoxo, Bre