Yesterday I showed you my Shabby Chic boutique. Today you get to see all of the details! Let's just get started, shall we?
Frame: Thrifted Platter: already had Straw Balls: Ikea
Vase: Thrifted Peony Flower: Walmart (I know!)
I spent a little more on these things since they were going to be on the coffee table. She already had this tray, everything on it (except the willow tree figurine) is from Hobby Lobby.
Flowers in vase are also from Walmart.
This chalkboard sign used to be a really ugly wood picture. I will do a chalkboard tutorial tomorrow.
Pillow from TJ Maxx
She wanted a display of ribbons that brides could use to show what colors they want. So this was what I came up with. I think it's pretty cute! I tied the ribbons to clear shower rings. This way they are easily removed and she can add more ribbons as she likes.
She already had this mirror, I just strung the ribbons across it.
I spent about $30-$50 on old books at the thrift store. I just took a piece of sandpaper to them to rough them up a bit and make them look even older than they are.
I found this clock thrifting. Since I'm really smart, I didn't take a before picture. But it used to be dark cherry wood. I painted it with cream toll paint and then distressed it with sandpaper.
This used to be a picture. I will do a tutorial for it tomorrow too.
For the gallery wall, I thrifted all of the frames (typically 75 cents to $1.50) And I spray painted them. The cream ones I distressed with sandpaper.
For the layout, I tried to alternate cream and gold, and also the orientation of frames.
Here are some good detail shots of the chair that I didn't get before my last tutorial.
This shows how the stain looks over the white spray paint.
I just hot glued this tubing on so there weren't any staples showing.
Pictures are thrifted and all frames were thrifted.
This glass vase I spray painted and added a little twine tied around it. Also, more flowers from Walmart.
She already had this tray and all of the candles/figurines.
This wreath was pretty easy. I found it at the thrift store and just added some burlap bunched and hotglued onto it. The other two frames she already had.
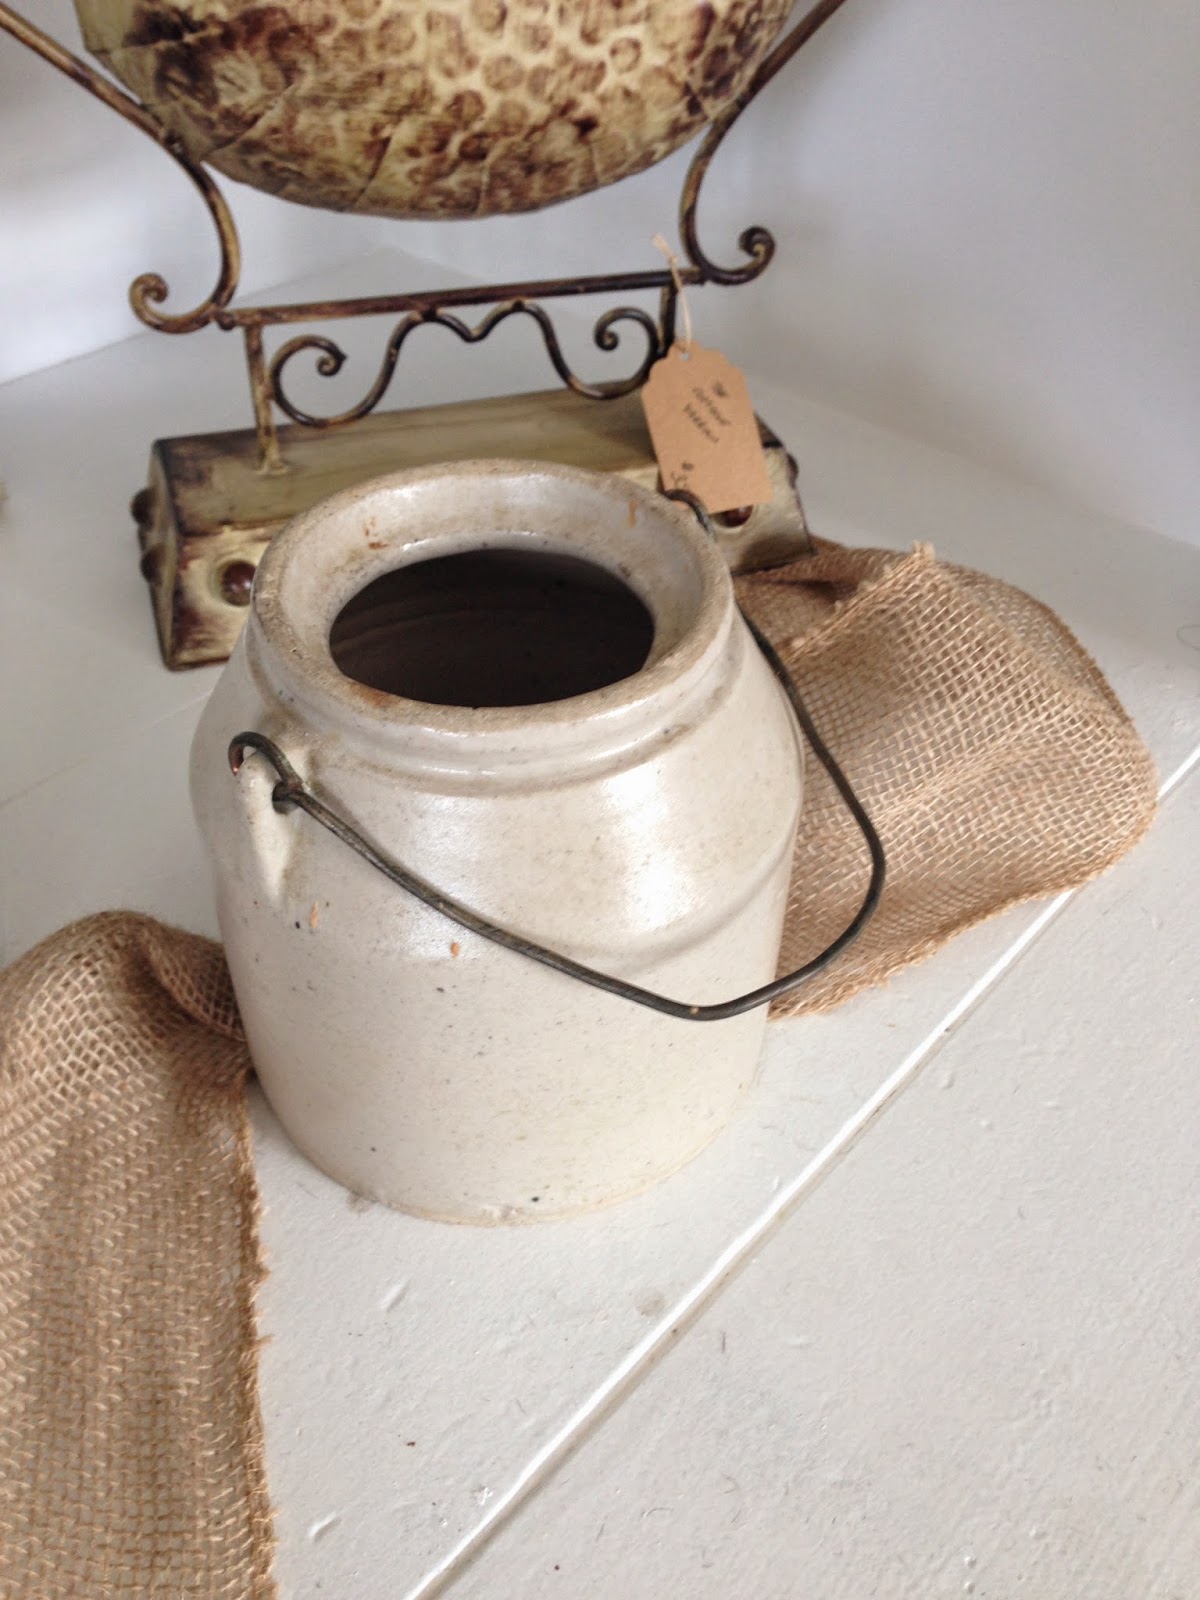
I found this old pot thrifting. I was so in love with it and really wanted to keep it haha.
Also found this silver bowl thrifting.
The detailing on it is so cute and it would be so great for a catchall on a dresser (or a ring dish on a nightstand)
I will do a tutorial for this. I painted this and thought it turned out pretty cute.
Plant and pot from Ikea. I will do a quick tutorial on it tomorrow as well.
Another chalkboard. Tutorial to come.
More books.
I tried to group the books with like colors to keep it from looking busy. When you are shopping for your books, make sure you have a few in each color and not just one random red one you can't pair with any others.
She already had this pair of antique lamps.
I used a mix of mirrors and pictures for the gallery wall.
Each picture was taken professionally of their floral arrangements. I thought it helped tie in the bridal theme along with showing how great their floral work is.
I chose pictures that had details of the flowers.
Vase and books are thrifted. I was absolutely in love with this vase.
I bought this lamp thrifting. It was only $15!!!! I was shocked and so excited when I found it.
Fort he shade, I found a random neutral lamp shade and just hot glued some burlap around it.
Vases thrifted. She already had these frames.
This used to be on just a stand, I framed it in an extra frame I spray painted.
I found this metal bucket thrifting and added these flowers from (you guessed it... Walmart)
Come back again tomorrow and I'll give you some good tutorials for chalkboards and signs!!


.JPG)


